1: Base shape
In this video, Jackie will show you how to make the basic core shape for the pumpkin. You will also learn some tips how to hold and poke the felting needle.
2: Blending wool
In this video, Jackie will show you another way to blend the color wool using your hands. You may also check the bonus video below on how to mix color wool using the hand carders.
3: Color wool
In this video, you will learn how to put another layer of color wool to the base. You will also learn some tricks to make it appear even and smooth.
4: Pumpkin ribs
In this video, you will learn how to make the crease for the pumpkin rib. You will also learn some tips to make a straight line.
5: Stem
In this video, you will learn how to pre-felt small parts like the stem and attach it to the pumpkin. Jackie will also show you some techniques for using the needle and achieve the desired depth of poking.
6: Spooky eyes
In this video, you will learn how to create the 3D eyes for your spooky pumpkin. You will also learn some tricks to have the best look for your felt character.
7: Stitched mouth
In this video, you will learn how to create a ripped mouth to complete the spooky look of your pumpkin. You will also get some tips for adding tiny strips to your project.
8: Nose
In this video, you will learn how to create and add a strip to make the nose for the pumpkin. You will also learn how to position your nose to achieve the desired look.
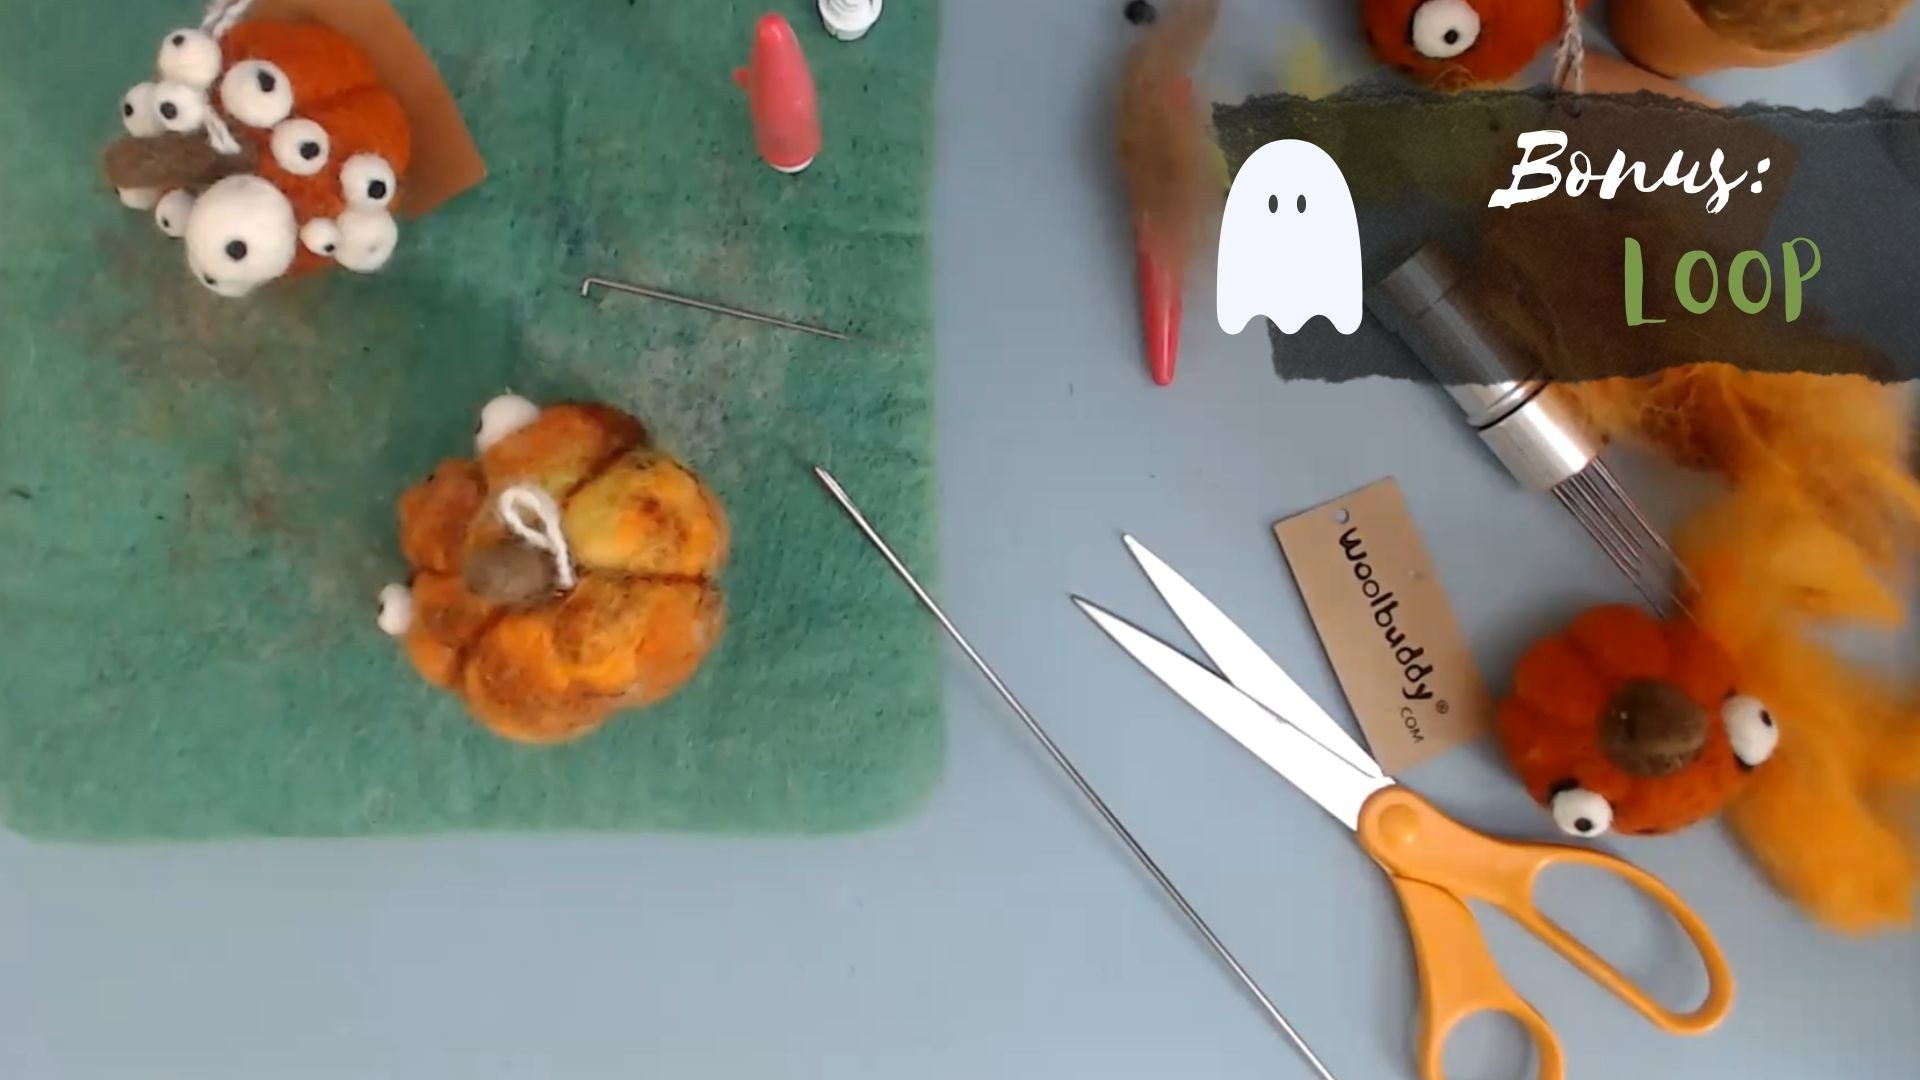
9: Loop
This is an optional information. In this video, you will learn how to add a strong loop to your pumpkin, so you can hang it.
10: Bonus - Mixing wool with hand carders
In this video, Jackie will show you how to blend the color wool using the hand carders, to get the desired color shade.